The Honeywell T4 thermostat is a next-generation device designed for efficiency and ease of use. It offers programmable scheduling, smart home integration, and energy-saving features. This guide provides step-by-step instructions for proper installation to ensure optimal performance and safety.
Pre-Installation Requirements and Safety Precautions
Ensure the mains power is switched off before accessing wiring. Installation must be performed by a competent person to guarantee safety and proper functionality. Always follow manufacturer guidelines to avoid potential hazards during the process.
Ensuring Power is Switched Off Before Installation
Switching off the power before installation is critical for safety. Locate the main electrical panel or circuit breaker controlling the heating and cooling system. Turn off the power and verify it is completely deactivated using a voltage tester. This prevents electrical shocks, injuries, or damage to the thermostat.
Ensure the furnace or HVAC system is also powered down. Some systems may have a dedicated switch near the unit—make sure it is in the “off” position. Double-checking the power status ensures a safe working environment.
Never attempt installation without disconnecting the power, as live wires can pose serious risks. This step is non-negotiable, whether you’re a professional or a DIY installer. Proceed only when the system is confirmed to be powered down.
Importance of Competent Installation
A competent installation is essential for the Honeywell T4 thermostat to function correctly and safely. Improper installation can lead to electrical hazards, system malfunctions, or even void the product warranty. Ensure the installer is knowledgeable in HVAC systems and familiar with thermostat wiring.
A professional installer will follow manufacturer guidelines, verify wiring connections, and test the system post-installation. This ensures the thermostat operates efficiently and integrates seamlessly with existing heating and cooling systems. DIY installations are possible but require strict adherence to the manual and safety precautions.
Incorrect wiring or misconfiguration can result in inaccurate temperature control, increased energy consumption, or system damage. Always consult a licensed technician if unsure, especially for complex systems. Proper installation guarantees optimal performance, reliability, and long-term savings.
Wiring Connections for Honeywell T4 Thermostat
Proper wiring connections are critical for the Honeywell T4 thermostat to function accurately. Ensure all wires are connected according to the manufacturer’s wiring diagrams and guidelines. Verify terminal labels match your system’s requirements for heating, cooling, and power connections. After wiring, secure the terminal cover and power up the system to test functionality.
Understanding Wiring Diagrams
Wiring diagrams are essential for a successful Honeywell T4 thermostat installation. These diagrams provide a visual representation of the wiring setup, ensuring connections are made correctly. They typically include color-coded wires, terminal labels, and system configurations. Always refer to the manufacturer’s wiring diagram specific to your Honeywell T4 model, as configurations may vary. Each wire corresponds to a specific function, such as power (R, Rh, Rc), heating (W), cooling (Y), and fan (G). Properly matching these wires to the correct terminals is crucial to avoid system malfunctions. If you’re unsure about any part of the wiring process, consult the installation manual or seek professional assistance. Incorrect wiring can lead to safety hazards or equipment damage. Take your time to carefully compare the diagram with your system’s wiring layout before making any connections. This step ensures a safe and functional installation. Remember, the wiring diagram is your guide to a trouble-free setup;
Connecting Wires According to Manufacturer Guidelines

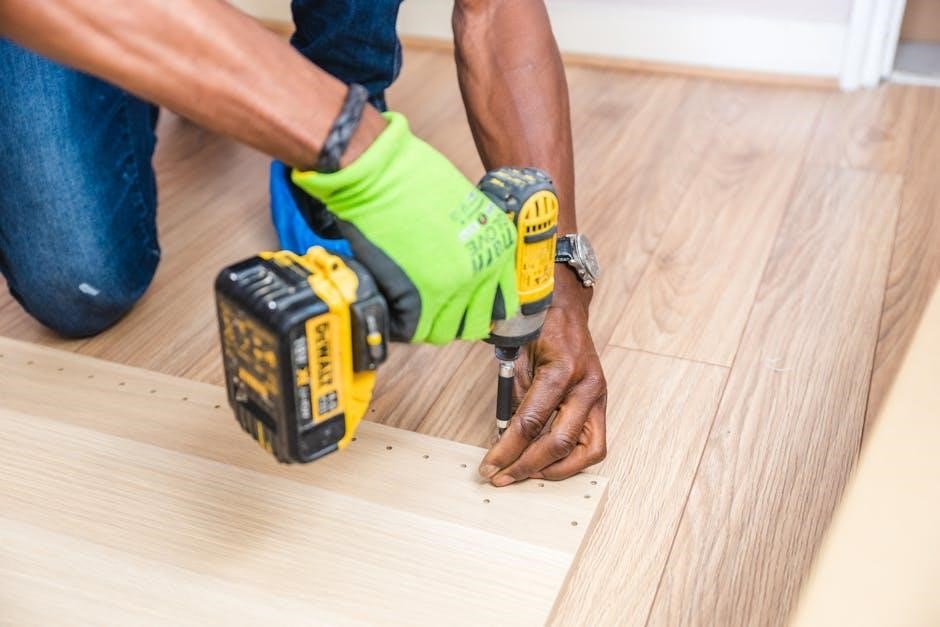
Connecting wires for the Honeywell T4 thermostat requires careful attention to the manufacturer’s guidelines to ensure proper functionality and safety. Begin by separating the wallplate from the thermostat and opening the terminal cover. Refer to the wiring diagram provided in the installation manual to identify the correct terminals for each wire. Match the wires according to their color codes and labels, such as R (power), W (heating), Y (cooling), and G (fan). Securely connect each wire to the corresponding terminal on the wallplate, making sure they are tightly fastened to avoid loose connections. Once all wires are connected, clip the terminal cover back into place. Finally, attach the thermostat to the wallplate and power up the system to test its functionality. Always double-check the connections to ensure they align with the wiring diagram and manufacturer instructions. Proper wire connections are critical for the thermostat to operate efficiently and safely. If unsure, consult the manual or seek professional assistance to avoid potential issues.

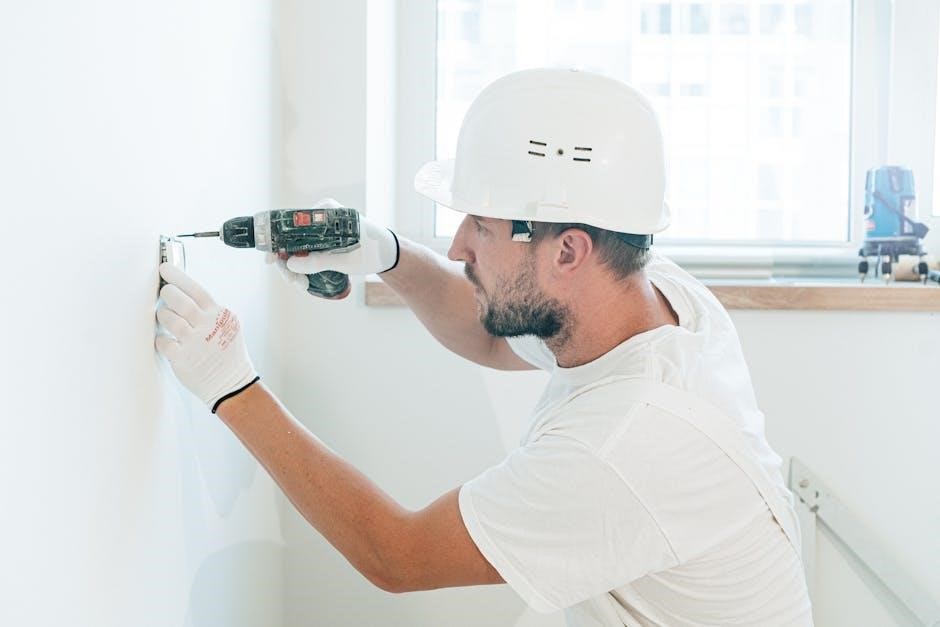
MOUNTING THE THERMOSTAT
MOUNTING THE THERMOSTAT involves securing the wallplate and attaching the device. Ensure the wallplate is properly fitted and aligned. Use screws to fasten it to the wall. Then, clip the thermostat onto the wallplate. Ensure it’s level and secure for accurate temperature sensing and smooth operation. Proper installation guarantees reliable performance and energy efficiency. Always follow the manufacturer’s instructions for precise mounting to avoid any issues. This step is crucial for the thermostat to function correctly and maintain your home’s comfort. If the thermostat is not mounted correctly, it may lead to inaccurate temperature readings or malfunctions. Take your time to ensure the thermostat is securely and correctly mounted. If you are unsure about any part of the process, consult the installation manual or contact a professional for assistance. Mounting the thermostat properly is essential for its performance and your satisfaction with the device. Make sure all connections are secure and the device is level before finalizing the installation. This will ensure optimal performance and longevity of the thermostat.
Installing the Wallplate
Installing the wallplate is a critical first step in mounting the Honeywell T4 thermostat. Begin by separating the wallplate from the thermostat unit. Locate the appropriate spot on the wall, ensuring it’s level and away from direct sunlight or drafts. Use a screwdriver to remove the terminal cover on the wallplate. Carefully connect the wires according to the wiring diagram provided in the manual. Once the wires are securely connected, replace the terminal cover. If your wall lacks a suitable anchor, install the provided wall anchors before screwing the wallplate into place. Ensure the wallplate is tightly fastened to prevent any movement. After securing the wallplate, double-check that all wires are neatly tucked into the wall to maintain a clean installation. Proper installation of the wallplate ensures a stable base for the thermostat, which is essential for accurate temperature control and reliable performance. Always follow the manufacturer’s guidelines to avoid any potential issues during the installation process. If you encounter any difficulties, consulting the manual or seeking professional assistance is recommended. This step lays the foundation for the entire installation, so attention to detail is crucial. By carefully installing the wallplate, you ensure the Honeywell T4 thermostat operates efficiently and effectively in regulating your home’s temperature.
Attaching the Thermostat to the Wallplate

Once the wallplate is securely installed, the next step is to attach the Honeywell T4 thermostat to it. Begin by ensuring the thermostat is properly prepared for mounting. Remove any protective films or covers from the thermostat’s back to expose the mounting clips. Align the thermostat with the wallplate, ensuring the clips on the back of the thermostat match up with the corresponding slots on the wallplate. Gently push the thermostat onto the wallplate until it clicks securely into place; Make sure the device is level and evenly aligned for proper functioning.
If necessary, adjust the thermostat’s position slightly to ensure it is straight and evenly mounted. Once attached, verify that all connections are secure and the thermostat is firmly held in place. Avoid applying excessive force, as this could damage the mounting mechanism. After successfully attaching the thermostat, proceed to power it on and complete the setup process. Proper attachment ensures accurate temperature sensing and smooth operation of the Honeywell T4 thermostat. Always refer to the manual for specific alignment and mounting instructions to guarantee a correct and safe installation. This step is crucial for the overall functionality of the device.