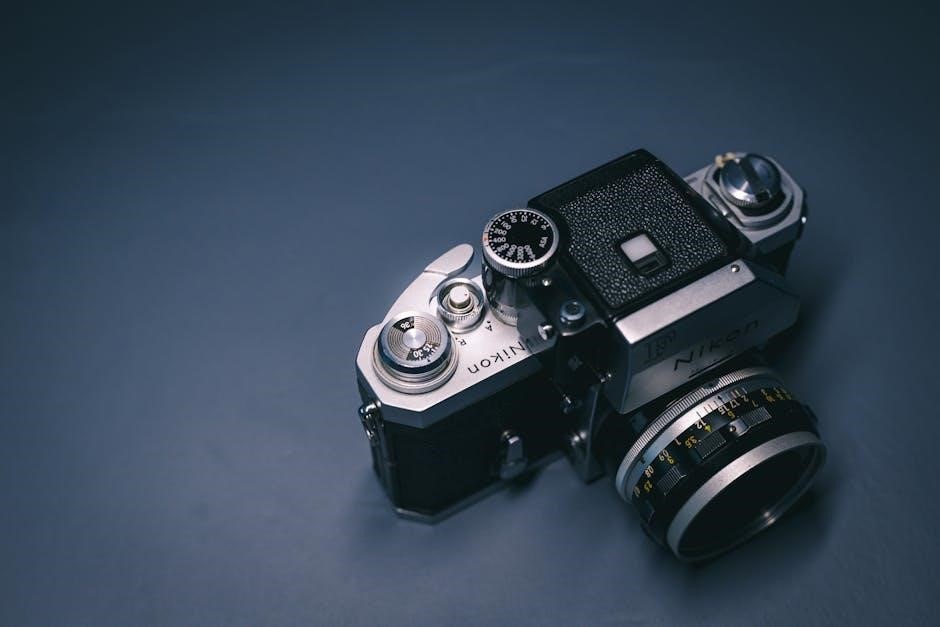
The Nikon D700 is a professional-grade DSLR camera, offering a 12.1MP full-frame sensor, excellent low-light performance, and robust build quality. Popular among professionals and enthusiasts alike, it delivers outstanding image quality and durability for various photography needs.
1.1 Overview of the Nikon D700 Camera
The Nikon D700 is a full-frame DSLR camera designed for professional photographers and enthusiasts. Featuring a 12.1-megapixel CMOS sensor, it offers excellent image quality, low-light performance, and durability. Built with a weather-sealed magnesium alloy body, it ensures reliability in challenging conditions. With advanced autofocus and metering systems, the D700 is versatile for various photography genres, making it a trusted tool for capturing high-quality images.
1.2 Key Features and Specifications
The Nikon D700 features a 12.1-megapixel full-frame CMOS sensor, delivering exceptional image quality and low-light performance. It supports ISO ranges from 100 to 6400, expandable to 25600. The camera includes a 51-point autofocus system, 8 fps continuous shooting in FX mode, and a 3-inch LCD screen; Built with a weather-sealed magnesium alloy body, it offers durability and reliability for professional use, along with dual memory card slots for enhanced storage flexibility.
Getting Started with the Nikon D700
Unbox and charge the battery, then familiarize yourself with the camera’s controls. Insert memory cards, set the time, and review the manual for personalized settings.
2.1 Unboxing and Initial Setup
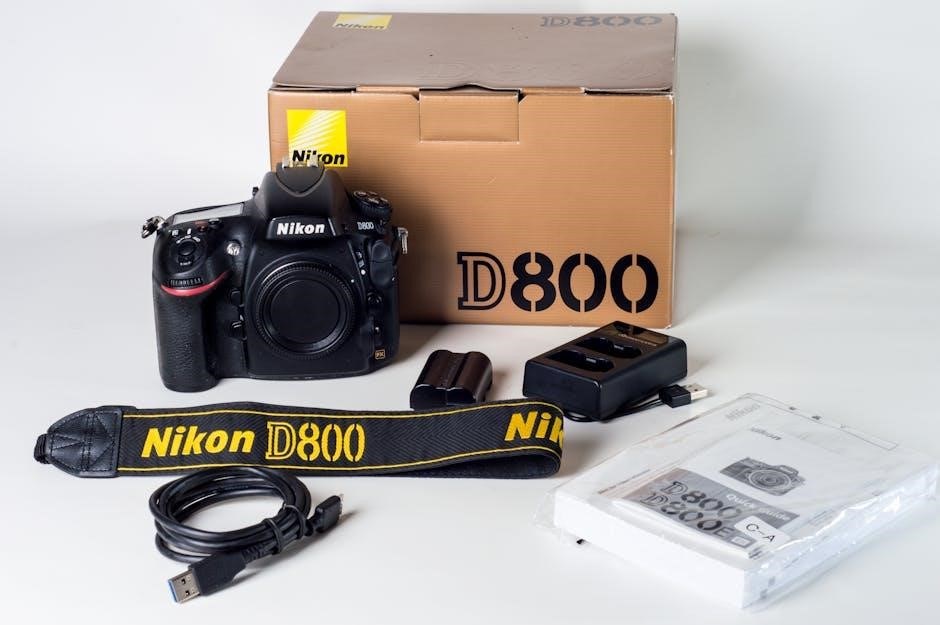
Start by carefully unboxing the Nikon D700, ensuring all accessories like the battery, charger, and manual are included. Charge the battery fully before use. Insert a memory card, preferably a high-speed CF card, and set the camera’s time and date. Review the user manual to understand basic operations and customize initial settings like sensor cleaning and date imprint.
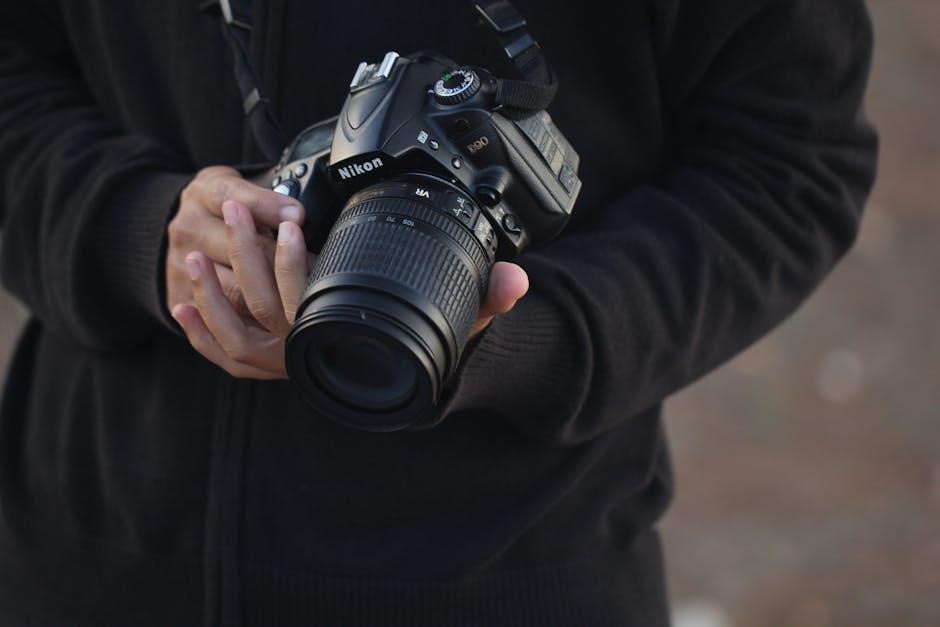
2.2 Basic Camera Controls and Layout
Familiarize yourself with the Nikon D700’s controls. The mode dial on top selects shooting modes like Manual, Aperture Priority, or Program. The shutter release button is located on the right grip, alongside the aperture and shutter speed controls. The ISO button and white balance controls are on the top-left. The multi-selector and AF controls are on the rear, with the LCD screen and viewfinder central to composition and review.
2.3 Charging and Battery Management
The Nikon D700 uses the EN-EL3e lithium-ion battery, which provides excellent performance. Charge the battery using the supplied MH-18a charger. A full charge typically takes about 2 hours. Ensure the battery is fully charged before use. Avoid overcharging, as it can reduce battery life. Store unused batteries in a cool, dry place. Clean the battery terminals regularly for optimal performance.
Lens Compatibility and Recommendations
The Nikon D700 is compatible with Nikon F-mount lenses, including FX and DX formats. For optimal performance, consider lenses like the Tamron 28-75mm f/2.8 or Sigma 24-70mm f/2.8 for versatility and image quality.
3.1 Compatible Lenses for the Nikon D700
The Nikon D700 supports a wide range of Nikon F-mount lenses, including both FX and DX formats. It is compatible with AF-S, AF-I, and older manual-focus lenses, ensuring versatility for various photography styles. The camera works seamlessly with lenses like the Tamron 28-75mm f/2.8 and Sigma 24-70mm f/2;8, which are highly recommended for their optical quality and performance.
3;2 Best Lenses for Different Shooting Styles
For portrait photography, the Nikon 85mm f/1.4G or 50mm f/1.4G lenses are ideal due to their shallow depth of field and sharpness. Landscape shooters benefit from the Nikon 14-24mm f/2.8G for its wide angle and edge-to-edge clarity. Wildlife and sports photographers prefer the Nikon 70-200mm f/2.8 VR II for its reach and image stabilization, ensuring crisp results in dynamic situations.

Autofocus Setup and Configuration
The Nikon D700 offers advanced autofocus modes, including single and continuous AF, with customizable settings to optimize performance for various shooting scenarios and personal preferences.
4.1 Understanding Autofocus Modes
The Nikon D700 features three autofocus modes: Single AF (AF-S) for stationary subjects, Continuous AF (AF-C) for moving subjects, and Auto AF (AF-A), which switches automatically; AF-C includes predictive tracking for dynamic compositions. Customizing AF-C modes enhances performance for specific scenarios, while the 51-point AF system ensures precise focus acquisition, improving accuracy and speed in diverse shooting conditions.
4.2 Customizing Autofocus Settings
The Nikon D700 allows users to customize autofocus settings for optimal performance. AF-C mode offers adjustable focus tracking, while AF-area modes (Single, Dynamic, or 3D) let you tailor focus points. Customizing AF-C modes enhances predictive tracking for moving subjects. Additionally, AF Fine Tune enables micro-adjustments for specific lenses, ensuring sharp focus. These settings can be tailored to match your shooting style and subject behavior for precise results.
4.3 Troubleshooting Autofocus Issues
Common autofocus issues with the Nikon D700 include slow focus acquisition or inaccurate focus. Ensure the lens is properly calibrated and clean. Manual focus can resolve hunting during macro photography. Check for firmware updates and clean the camera’s sensor and mirror for optimal performance. Adjusting AF settings or using back-button focus may also improve accuracy and responsiveness in challenging situations.
Shooting Modes and Settings
The Nikon D700 offers Manual, Aperture Priority, Shutter Priority, and Program modes, allowing precise control over exposure. Adjust ISO, White Balance, and Exposure Compensation for optimal results.
5.1 Explanation of Camera Modes (Manual, Aperture Priority, Shutter Priority, Program)
The Nikon D700 offers four primary shooting modes: Manual (M), Aperture Priority (A/Av), Shutter Priority (S/Tv), and Program (P). Manual mode provides full control over aperture and shutter speed. Aperture Priority allows users to set the aperture while the camera adjusts the shutter speed. Shutter Priority lets users set the shutter speed for motion effects. Program mode offers automatic settings with flexibility for adjustments, ideal for everyday shooting scenarios.
5.2 Adjusting ISO, White Balance, and Exposure Compensation
Adjusting ISO, white balance, and exposure compensation on the Nikon D700 enhances image quality. ISO sensitivity ranges from 200-6400, minimizing noise in low-light conditions. White balance options include auto, daylight, shade, and fluorescent presets. Exposure compensation allows ±5 EV adjustments for fine-tuning brightness. These settings ensure precise control over lighting and color, optimizing your photos for various environments and creative goals.
Accessory and Equipment Recommendations
Invest in a sturdy tripod for stability and consider external flashes for enhanced lighting control. Recommended lenses include the Tamron 28-75mm or Sigma 24-70mm for versatility and quality.
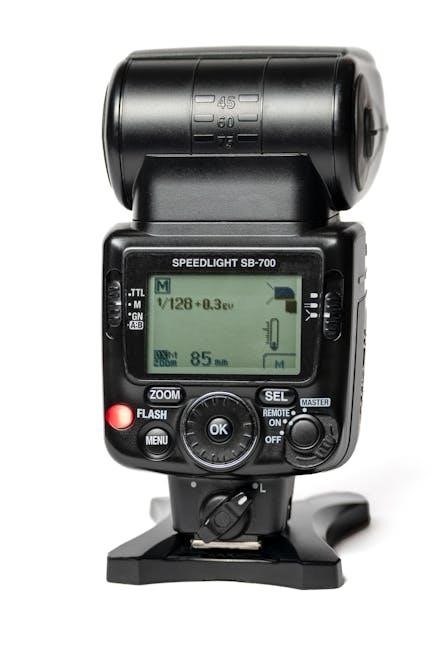
6.1 External Flashes and Lighting Solutions
External flashes enhance lighting control for the Nikon D700. Use a hot-shoe cable or wireless triggers for off-camera flash. Diffusers and umbrellas soften harsh light. Consider budget-friendly third-party options like Yongnuo or Godox for reliable performance. These tools expand creative possibilities, ensuring well-lit and dynamic images in various shooting conditions.
6.2 Tripods and Stabilization Equipment
A sturdy tripod is essential for stabilizing the Nikon D700, especially in low-light conditions or for long exposures. Carbon fiber tripods are lightweight yet durable, while ballheads or pan-tilt heads offer precise control. For macro or infrared photography, a tripod ensures sharp focus and prevents camera shake. Additional accessories like quick-release plates enhance convenience and streamline your workflow during shoots.

Advanced Techniques and Tips
Mastery of manual focus enhances precision, while exploring macro and infrared photography unlocks creative potential. Experiment with bracketing for HDR and optimize custom settings for tailored results.
7.1 Mastering Manual Focus for Precision
Manual focus on the Nikon D700 offers precise control, especially for macro and portrait photography; Use the focus ring for fine adjustments, ensuring sharpness in critical areas. For macro shots, disable autofocus to avoid hunting. Pair with lenses like the Tamron 28-75mm or Sigma 24-70mm for optimal results. Practice with different apertures to master depth of field and achieve professional-grade imagery.
7.2 Using the Nikon D700 for Macro and Infrared Photography
The Nikon D700 excels in macro and infrared photography with its 12MP sensor. For macro, use prime lenses like the 105mm f/2.8 for exceptional detail. Infrared photography requires a filter and manual focus adjustment. Experiment with tripod setups and RAW format for optimal results, ensuring sharpness and vibrant tones in both macro and infrared captures.

Maintenance and Troubleshooting
Regularly clean the sensor and lens to prevent dust buildup. Check firmware updates and reset settings if issues arise. Troubleshoot autofocus and ensure proper battery maintenance for optimal performance.
8.1 Cleaning and Maintaining the Camera
Regularly clean the camera sensor and lens with a soft cloth to prevent dust buildup. Avoid using liquids directly on the sensor. Use a blower to remove loose particles and ensure the camera is stored in a dry, cool environment. Check for firmware updates and perform periodic resets to maintain optimal functionality and image quality.
8;2 Common Issues and Solutions
Common issues with the Nikon D700 include autofocus inaccuracies, sensor dust, and error messages. For autofocus problems, ensure AF settings are correctly configured. Use the camera’s cleaning mode to remove sensor dust.RESET the camera or update firmware to resolve error messages. Regular maintenance and firmware updates help prevent these issues, ensuring optimal performance and image quality.

Resources and Further Learning
Explore Nikon’s official website, user manuals, and Thom Hogan’s comprehensive guide for in-depth learning. Online forums and video tutorials also offer valuable tips and troubleshooting advice.
9.1 Nikon D700 User Manuals and Guides
The Nikon D700 user manual provides detailed instructions for camera operation, modes, and settings. Official Nikon resources, including digital versions of the manual, are available on their website. Additionally, Thom Hogan’s Complete Guide to the Nikon D700 offers in-depth tips and tricks. The Nikon Manual Viewer 2 app allows users to download and access manuals directly on their mobile devices for convenience. These resources ensure comprehensive understanding and optimal use of the camera’s features.
9.2 Online Communities and Forums for Support
Online forums and communities, such as Nikon-specific groups and photography forums, offer valuable support for Nikon D700 users. These platforms provide troubleshooting tips, shared experiences, and expert advice. Users can discuss camera settings, lens compatibility, and advanced techniques. Additionally, resources like Thom Hogan’s guides and Nikon’s official support pages are accessible online, ensuring comprehensive assistance for mastering the D700.