Valve guides are critical for engine performance, ensuring proper valve alignment and reducing wear. Excessive clearance or wear necessitates replacement to maintain efficiency and prevent damage.
1.1 Overview of Valve Guides and Their Importance
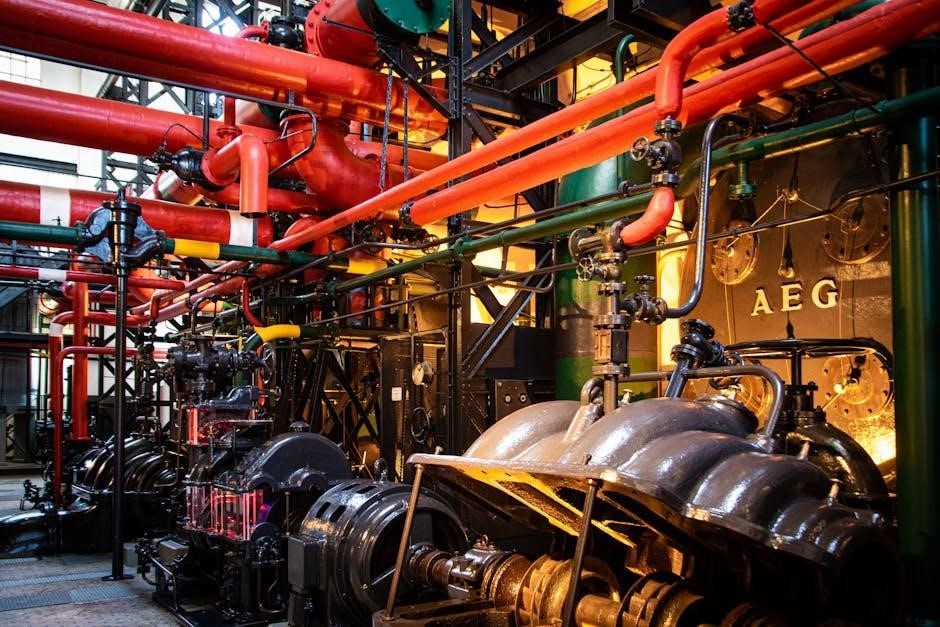
Valve guides are essential engine components that ensure proper valve alignment and movement, preventing excessive wear and promoting efficient combustion. They surround the valve stems, maintaining alignment and preventing damage. Typically made of durable materials, they withstand high engine temperatures. Over time, wear can lead to issues like oil consumption and misfires. Replacing valve guides involves complex steps, often requiring cylinder head removal. Understanding their role is crucial for maintaining engine performance and longevity.
1.2 Signs That Valve Guides Need Replacement
Excessive oil consumption, blue smoke from the exhaust, and increased valve train noise are key indicators of worn valve guides. If the valve stem-to-guide clearance exceeds specified limits, replacement is necessary. Misfires, rough engine idle, and decreased performance also signal potential issues. Additionally, worn guides can cause engine compression problems and increased emissions. Addressing these signs promptly prevents further engine damage and maintains optimal performance. Regular inspections and measurements ensure timely interventions, avoiding costly repairs down the line.
1.3 Safety Precautions and Tools Required
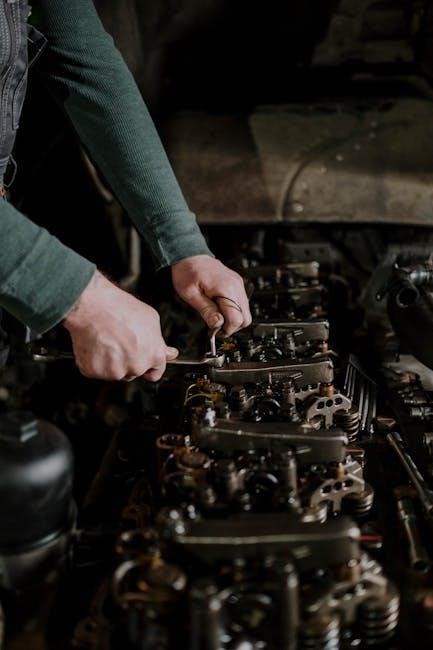
When replacing valve guides, ensure the engine is cool to avoid burns. Disconnect the battery to prevent accidental starts. Wear protective gear like gloves and safety glasses. Essential tools include a valve guide remover, installation tool, micrometer for measuring clearance, and a torque wrench. Proper lubrication with engine oil is crucial during installation. Always refer to the vehicle’s service manual for specific instructions and torque specifications. Following these precautions ensures a safe and successful replacement process, minimizing risks and potential damage to engine components.

Gather Necessary Tools and Materials
Essential tools include a valve guide remover, installation tool, micrometer, and torque wrench. Materials needed are new valve guides, engine oil for lubrication, and a service manual.
2.1 List of Specialized Tools for Valve Guide Replacement
Specialized tools required include a valve guide remover and installer, a micrometer for measuring clearances, and a torque wrench. Additional tools such as a socket set, piston ring compressor, and cylinder head puller may also be necessary. Ensure all tools are in good condition and suitable for your engine type to avoid damage during the replacement process. Proper tools are essential for a successful and precise valve guide replacement.
2.2 Materials Needed for the Replacement Process
Essential materials include new valve guides, valve stem seals, and guide installation kits. High-temperature grease and engine oil are needed for lubrication. Additionally, gaskets, O-rings, and any specific hardware required by your engine design should be obtained. Ensure all materials are compatible with your engine type and meet OEM specifications for optimal performance and longevity. Proper materials ensure a successful replacement and prevent future issues.

Understand the Valve Train Components
The valve train includes components like valve guides, stems, and seats, working together to regulate airflow and combustion processes in the engine. Proper functionality is crucial.
3.1 Anatomy of a Valve Train System
A valve train system consists of components like valve guides, stems, and seats, working together to regulate airflow and combustion processes. The system includes lifters, pushrods, and rocker arms, which transmit camshaft motion to the valves. Valve guides align the valve stems, reducing wear and ensuring proper sealing. The system’s design varies by engine type, with overhead systems being common. Proper lubrication and alignment are crucial for efficient operation and to prevent damage. Understanding this anatomy is essential for effective valve guide replacement and engine performance optimization.
3.2 Role of Valve Guides in Engine Performance
Valve guides play a pivotal role in engine performance by ensuring proper valve alignment and minimizing lateral movement. They facilitate smooth operation of the valve train, maintaining efficient combustion and reducing wear. Worn guides can lead to oil consumption, decreased performance, and increased emissions. Properly functioning guides enhance engine efficiency, prevent overheating, and maintain optimal sealing. Their role is critical for reliable engine operation, making their replacement essential when wear is detected to restore performance and prevent further damage. Regular inspection ensures long-term engine health.

Prepare the Engine for Valve Guide Replacement
Prepare the engine by draining coolant and disconnecting the battery. Remove intake manifold and cylinder head for clear access. Ensure safety and prevent damage during replacement.
4.1 Steps to Drain Coolant and Disconnect Battery
Begin by draining the engine coolant to prevent spills during disassembly. Locate the coolant drain valve, typically at the radiator bottom, and open it into a pan. Disconnect the negative battery terminal to ensure safety, as this shuts off the engine and electrical systems. Allow the engine to cool before proceeding. Properly dispose of the coolant and store it safely. These steps are essential to avoid contamination and ensure a smooth replacement process. Always refer to your vehicle’s manual for specific locations and procedures.
4.2 Removing the Intake Manifold and Cylinder Head
Remove the intake manifold by disconnecting the throttle cable, vacuum hoses, and fuel lines. Gently pry it loose and lift it off. Next, remove the cylinder head bolts in a star pattern to avoid warping the head. Use a wrench or socket to turn the bolts counterclockwise until they are completely removed. Carefully lift the cylinder head off the engine block. Inspect the head for cracks or damage and measure it for warping using a straightedge and feeler gauge. Ensure all components are labeled for proper reassembly.
Inspect and Measure Valve Guides
Inspect valve guides for wear, damage, or excessive clearance. Measure stem-to-guide clearance using a dial bore gauge, ensuring accuracy. Replace guides if worn beyond specifications.
5.1 How to Measure Valve Stem-to-Guide Clearance
To measure valve stem-to-guide clearance, insert a dial indicator into the guide and record the reading. Rotate the valve stem and note any variations. Compare measurements with manufacturer specifications to determine if replacement is needed. Ensure accuracy by taking readings at multiple points along the guide and stem. Excessive clearance indicates wear, requiring guide replacement to maintain proper engine performance and prevent further damage. Always use calibrated tools for precise measurements.
5.2 Identifying Wear Patterns and Damage
Visually inspect the valve guides for signs of wear, such as scoring, discoloration, or conical shapes. Measure the inner diameter of the guide using a micrometer and compare it to the valve stem diameter. Excessive clearance or uneven wear indicates damaged guides. Check for pits or cracks, which can lead to oil leakage and poor engine performance. Use a dial indicator to measure runout or wobble in the valve stem. If wear exceeds manufacturer specifications, replacement is essential to restore proper engine function and prevent further damage.

Remove the Old Valve Guides
Use specialized tools like a guide puller or drill press to safely extract worn valve guides. Clean the area thoroughly before installing new guides.
6.1 Techniques for Extracting Worn Valve Guides
To remove worn valve guides, use a slide hammer or extraction tool. Apply penetrating oil to loosen the guide, then carefully pull or drill out the old guide. Avoid damaging the surrounding area or cylinder head. Ensure the process is precise to maintain engine integrity and prepare for new guide installation.
6.2 Cleaning the Area for New Guide Installation
Thoroughly clean the area around the valve guide bore using a wire brush and solvent. Remove any debris, oil residue, or metal shavings. Inspect for cracks or damage. Ensure the surface is smooth and free of contaminants to guarantee proper seating and sealing of the new guide. This step is crucial for maintaining engine performance and preventing future issues. Use compressed air to finalize the cleaning process before installation.

Install the New Valve Guides
Use a wire brush and solvent to thoroughly clean the valve guide bore, removing debris and residue. Inspect for cracks or damage. Ensure the area is smooth and free of contaminants for proper guide seating. Compressed air can be used to remove final dust particles. This step ensures a clean surface for installation, promoting optimal engine performance and longevity. Proper preparation prevents future issues and guarantees a secure fit for the new guides.
7.1 Proper Alignment and Lubrication Techniques
Properly align the new valve guide with the cylinder head’s bore, ensuring it is straight and evenly seated. Lightly lubricate the valve stem and guide with engine oil to reduce friction and prevent seizing. Use a guide driver tool to gently tap the guide into place, avoiding any sideways force. Once installed, check the alignment by inserting the valve stem; it should move smoothly without resistance. Proper lubrication and alignment ensure optimal performance and longevity of the new valve guides. This step is crucial for maintaining engine efficiency and preventing future wear.
7.2 Securing the New Guides in Place
Once the new valve guides are properly aligned, use a guide installer tool to securely press them into position; Ensure they are seated evenly to prevent misalignment. Lightly tap around the guide with a soft-faced hammer to confirm they are fully seated. Apply a small amount of engine oil to the guide’s outer surface for lubrication. After installation, inspect the alignment by inserting the valve stem; it should move smoothly without resistance. Proper securing ensures the guides remain in place, maintaining engine performance and longevity. This final step is crucial for a successful replacement.

Reassemble the Engine Components
After replacing the valve guides, carefully reinstall the cylinder head and intake manifold. Ensure all bolts are tightened to specified torque values to avoid leaks or damage.
8.1 Reinstalling the Cylinder Head and Intake Manifold
Reinstalling the cylinder head and intake manifold requires precision. Ensure all surfaces are clean and free of debris to prevent leaks. Apply a thin layer of gasket sealant if necessary. Start by aligning the cylinder head with the engine block, then tighten the head bolts in the specified sequence and torque pattern. Once the cylinder head is secure, reinstall the intake manifold, making sure all connections are tight and properly sealed. This step is crucial for maintaining engine integrity and performance.
8.2 Refilling Coolant and Reconnecting Battery
After reinstalling the cylinder head and intake manifold, refill the coolant system with the recommended engine coolant; Ensure the radiator is filled to the specified level and bleed the system to remove air pockets. Reconnect the battery, starting with the positive terminal, then the negative. Double-check all electrical connections to ensure proper functionality. Finally, start the engine and monitor for leaks or unusual noises. This step restores the engine’s cooling and electrical systems, preparing it for a test drive.

Test and Validate the Repair
After reassembly, start the engine to check for leaks and unusual noises. Monitor performance and ensure all systems function correctly. A test drive confirms success.
9.1 Checking for Leaks and Proper Engine Function
After reassembling the engine, inspect all connections for signs of leaks. Start the engine and listen for unusual noises or hissing sounds. Monitor the dashboard for warning lights or error codes. Ensure the engine runs smoothly and maintains proper idle. Check oil and coolant levels to confirm no leakage. A test drive is essential to validate performance under various conditions, such as acceleration and deceleration. Proper function indicates a successful repair, while any issues require immediate attention to avoid further damage.
9.2 Test Driving the Vehicle for Performance
A thorough test drive is crucial to assess engine performance post-replacement. Drive under various conditions, including accelerating, decelerating, and maintaining steady speeds. Listen for unusual noises or vibrations. Pay attention to overall smoothness and responsiveness. Ensure there are no signs of decreased power or efficiency. This step confirms that the valve guides were installed correctly and that engine function has been restored. A successful test drive provides confidence in the repair and ensures optimal vehicle operation moving forward.

Tips for a Successful Valve Guide Replacement
Proper lubrication and precise alignment are key. Use specialized tools to avoid damage. Follow step-by-step guides to ensure accuracy and efficiency during the replacement process.
10.1 Avoiding Common Mistakes During the Process
Common mistakes include improper alignment, insufficient lubrication, and using incorrect tools. These errors can damage new guides or surrounding components. Always measure clearance accurately and avoid over-tightening. Ensure the area is clean to prevent contamination. Follow manufacturer guidelines strictly and double-check each step. Skipping these precautions can lead to poor engine performance or further damage, requiring costly repairs. Attention to detail and adherence to best practices are essential for a successful replacement.
10.2 Maintaining Engine Health After Replacement
After replacing valve guides, regular engine maintenance is crucial. Schedule frequent oil changes and monitor valve train components for wear. Check valve clearance at recommended intervals to prevent excessive wear. Ensure proper lubrication of moving parts to reduce friction. Avoid extreme driving conditions that stress the engine. Keep the cooling system in optimal condition to prevent overheating. Address any issues promptly to maintain performance and longevity. Proper care ensures the engine runs smoothly and efficiently, extending its lifespan. Regular inspections and timely repairs prevent costly damages.
Replacing valve guides is a critical process for maintaining engine health. Proper techniques and timely replacement prevent damage, ensuring optimal performance. Regular maintenance post-replacement is essential for longevity.
11.1 Summary of Key Steps and Benefits
Replacing valve guides involves measuring clearance, extracting worn guides, and installing new ones. Proper alignment, lubrication, and securing ensure optimal performance. Regular maintenance post-replacement extends engine life.